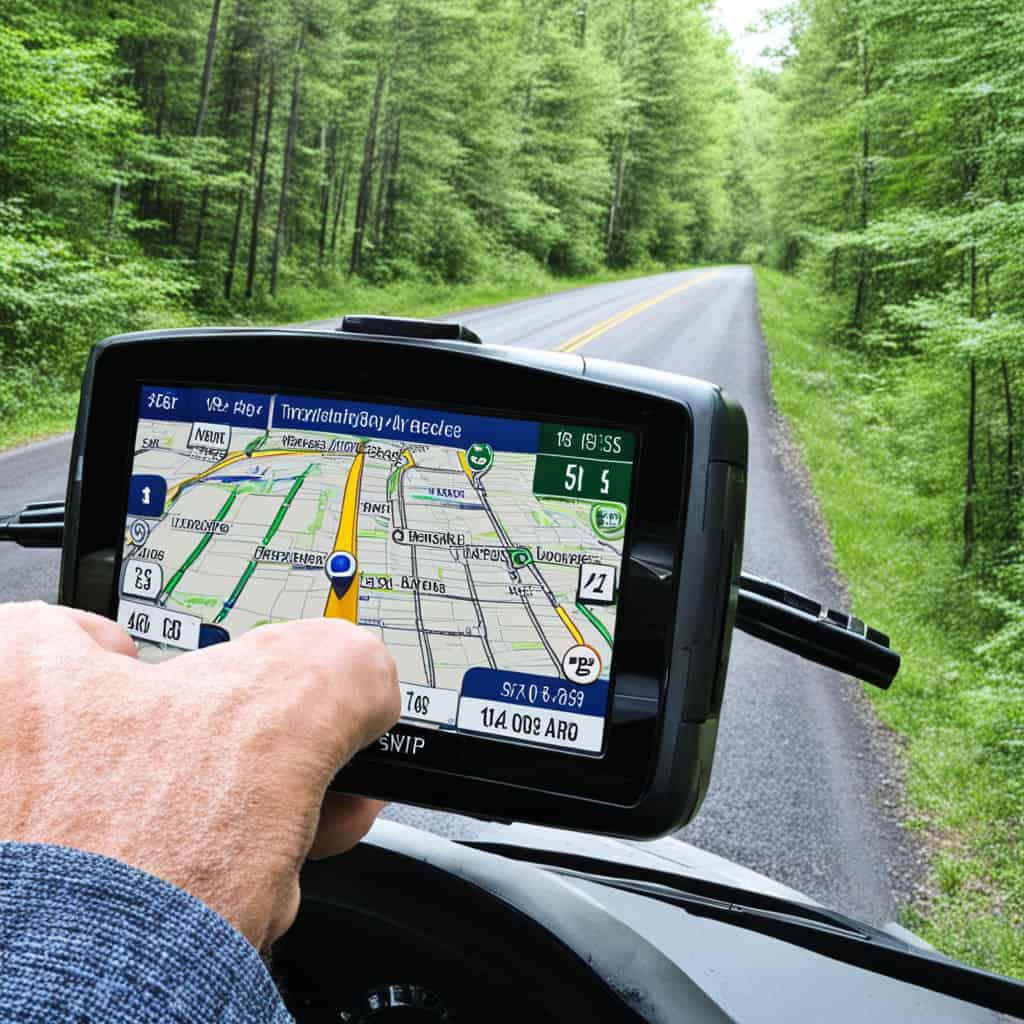
Create Your Own Affordable Big-Screen GPS for RV Adventures
If you make a purchase using the links in this article, we may make a commission. And, as an Amazon Associate, I earn from qualifying purchases. See the full disclosure here.
When it comes to RVing, having the right tools can significantly enhance your travel experience. One of the most important tools for a successful trip is a reliable GPS system. While commercial options can be pricey, it’s possible to create your own affordable big-screen GPS using readily available technology. In this post, we’ll take you through the steps to set up a tailored GPS experience that meets your adventure needs.
Why Invest in a Big-Screen GPS?
Before diving into the DIY process, let’s explore why a big-screen GPS is worth the investment, especially for RV enthusiasts:
- Improved Visibility: Larger screens help reduce eye strain and make it easier to follow routes.
- Enhanced Features: Many big-screen GPS systems come with additional features, including turn-by-turn directions, live traffic updates, and points of interest.
- Customization: You can tailor your DIY system to focus on RV-specific navigation, avoiding low bridges or steep mountain passes.
Gathering Your Supplies
Creating your big-screen GPS is simple and budget-friendly. Here’s a list of items you’ll need:
- A Tablet or Smartphone: Choose a device with a large screen (10 inches or more) and a reliable GPS function.
- A Mount: Securely mount your device on the dashboard to ensure easy visibility.
- GPS Navigation App: Select a suitable app like Google Maps, Waze, or specialized RV navigation apps such as CoPilot or RV Trip Wizard.
- Internet Connection: For real-time updates, consider using your mobile data or a dedicated hotspot.
- Power Source: Ensure your device can stay charged throughout your travels, especially on longer trips.
Setting Up Your Big-Screen GPS
Step 1: Choose Your Device
Your choice of device can significantly influence your GPS experience. Tablets are often preferred because of their larger screens and better battery life. If you’re using a smartphone, consider investing in a large-screen model that will suit your needs.
Step 2: Mounting Your Device
Safety is paramount. Use a quality mount to keep your device secure and within reach. Here’s how to do it effectively:
- Choose the Right Location: Mount your device in a position that allows for unobstructed visibility and easy access.
- Follow Instructions: Adhere to the installation instructions provided with your mount to ensure it’s securely placed.
- Adjust for Visibility: Make sure the screen is easily visible from the driver’s seat without causing distraction.
Step 3: Download Navigation Apps
Select the right GPS application for your needs. Some top recommendations include:
- Google Maps: Excellent for general navigation, offering real-time traffic updates.
- Waze: Community-driven app that provides information about road conditions and hazards.
- CoPilot GPS: Designed specifically for RVs and larger vehicles, giving route options that consider size and weight restrictions.
- RV Trip Wizard: Helps plan trips while avoiding narrow roads, low bridges, and more.
Step 4: Connect to Internet
For an optimal navigation experience, ensure your device is connected to the internet. Options include:
- Mobile Hotspot: Use your smartphone’s hotspot feature or purchase a dedicated mobile hotspot device.
- Public Wi-Fi: Be cautious when using public networks, as they can be less secure.
Best Practices for Using Your DIY GPS
Once your big-screen GPS is up and running, here are some best practices to enhance your navigational experience:
- Keep Software Updated: Regularly update your app and device software for the latest features and security improvements.
- Plan Routes in Advance: Use your app to pre-plan routes, ensuring lower stress on the road.
- Be Aware of Battery Life: Carry a portable charger as a backup to avoid running out of power during your journey.
Conclusion
Creating your own affordable big-screen GPS for RV adventures is not only practical but can also save you money while enhancing your travel experiences. By following our simple steps, you’ll have a customized navigation tool that guides you safely and efficiently to your next destination. Happy travels and safe driving!

